Let's Go Bowling
 We’ve a lane open for all you Hepcats! We began laying down new floor this weekend, after a weeks-worth of whirlwind activity that ended with freshly primed and painted ceilings. My ever gracious (and industrious) parents worked all week to help us push the house along so that we may move in mid-month. For those of you betting against us moving in on this fourth rescheduled date… congratulations. That’s right. We will reschedule our move-in date ONE MORE TIME (and may this be the last-last time). This comes after much hand-wringing and consternation and not without a massive and valiant effort by those involved.
Our timeline allowed for having the flooring complete by last Sunday, but beginning task that was delayed by you’ll-never-guess-what; it starts with a “str-“ and ends in a “-ping”. Yes, never underestimate the time to strip. Rather than leave some stripping to be done over a beautiful new floor or freshly painted walls, we all worked laboriously to get as much of that finished that would lie in harms way. All that remains to be done is inside both built-in bookcases and buffet. Because we were not able to complete the flooring on Sunday, we will not be making our previous move-in timeline. I mean, it could be possible, but many other essential things would be sacrificed, like making the bedrooms and closets smoke-free scented. There’s nothing like turning all your jackets into smoking jackets, is there?
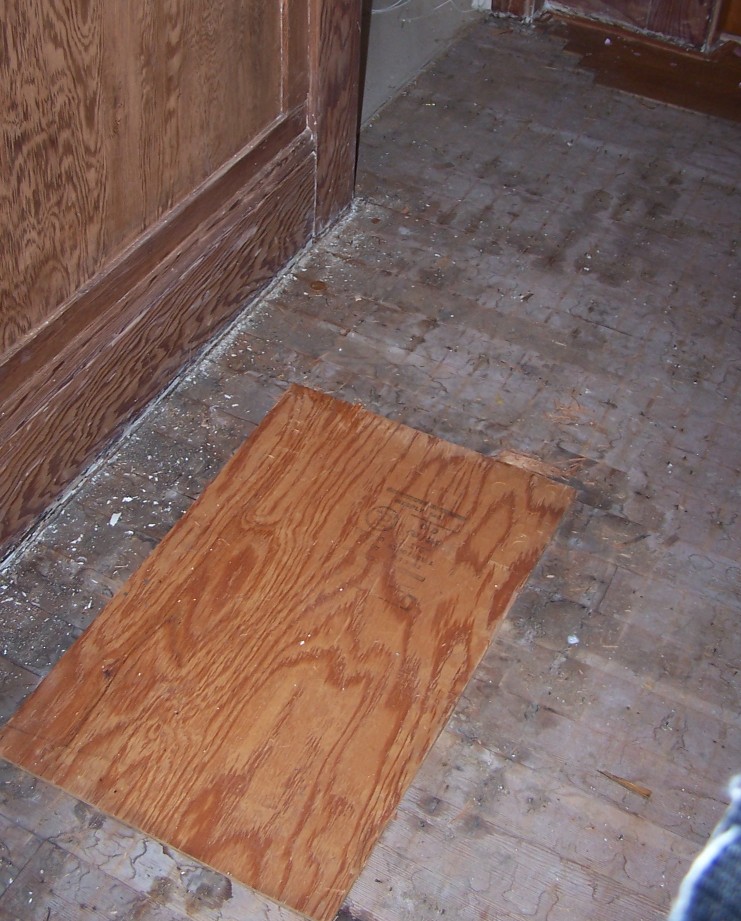 It was Friday evening that we had the essential stripping, neutralizing, washing and sanding complete, rather than Wednesday. So instead of having the ceilings painted before the weekend, they had been painted mostly on Saturday, and part of Sunday. It was early on that later day that we began to lay down the floor. Dad & I spent the former day prepping the floor, sealing the hole from the original centralized heater and laying down the felt.
Prepping the Floor
Now, Bob Villa recommends using a layer of rosin paper between a new wood floor and a wood-based subfloor, but we used 30-lb felt (roofing type). 30 & 15-lb felt is impregnated with asphalt, ideal for moisture resistance from below if you’re over a basement or crawl space such as we are. Typically rosin paper is for floors over a climate controlled space, like a second floor or apartment. Rosin paper’s role is to only prevent the floor squeaks from wood-on-wood, as it is a pushover with moisture. To maintain a flat surface, we lay the thick felt end to end, rather than overlap as you would on a roof. Flatness takes precedence over barring moisture when it comes to floors, so moisture retardance is quite adequate for our uses.
Eliminating Cigarette Odors & Painting
As for painting, my mom took on that task. Again, it seemed prudent to have the ceilings painted BEFORE we put in a new floor, and it was quite good that we did. We opted to prime the ceiling with Zinsser B-I-N Primer Sealer. This seems to be the best product hands down for eliminating aged cigarette odors. It adheres to both oil and water-based paints (such as latex), and does not need glossy surfaces deglossed to adhere properly. It is shellac based, and therefore has denatured alcohol, so wear adequate respiration for this. Paper masks are no good. It dries and is ready for painting/recoat in 45-60 minutes, although it outgases for some time afterwards. Ventilate and be free. Also cleaning brushes is done differently; the product recommends washing the brush in ammonia, and then household cleaner afterwards, though I imagine denatured alcohol would do the trick. Painting with B-I-N is not easy chore. It is runny like cooking oil and loves to drain from a brush tipped sideways.
For the final coat, we chose a flat latex of a color called Rich Cream. Its rather a yellow just orange of center, with only white without complimentary color to de-saturate the hue. We toyed with colors having names like Lemon Soufflé, Melted Butter and Banana Cream; I found myself salivating. Who makes this stuff up? I rather wish it were YellowB5 or somesuch. Now every time I look up at our ceiling I’ll think “mmm…coffee/pastry”.
Laying Down the Starter Row
So as she finished the painting in the dining room, we started laying down the floor. Most sources recommend starting against one wall or another, but with the built-in bookcases flanking the center rooms, we wanted to center the floorboards between those. Being 5” planks, their placement would be more notable. We marked the center, measured to the wall where the foyer entrance resides and marked the second point equidistant at the front end of the living room, to run the boards parallel with that wall. This entrance (perpendicular to the bookcases) would be the second noticeable place if the floorboard joints look funny. That settled, we ran a chalkline the full distance to the buffet and screwed in backer boards. This keeps the first few lines of board from drifting out of line when the impact of the nailer hits.
Then my mom, perched on the ladder still painting the ceiling, pulled the equivalent of a back-seat driver. Who does flooring from a ladder? She asked if we shouldn’t center the board, rather than the joint, on the center line. Blinking nonplussed, it slowly occurred to us that she may have a point. She pointed out that the boards may end with a joint ~½” from either built-in, which would be bad (think ¼” wide board here). So we mocked it up, and discovered that she was EXACTLY right. I still marvel at how she does this, and I’ve known her all my life!
 So we unscrewed our nice straight line of backer boards, and re-fastened it 2½” over. Here you see our original center line and then the revised one (including a faulty snap of the line). Then we began the actual flooring using a rented pneumatic flooring nailer/stapler and 2” staples.
 We used a slotted block which fit over the tongue to hammer the boards into place rather than hammering the tongues directly, risking damage. By the time we got to the built-in, we had plenty of board from the joint. Phew!
 When we got close to the fireplace and the nailer couldn’t fit, I had to pre-drill pilot holes and hand nail the boards down. The hardwood boards would split if I hadn’t piloted them. I also had to drill a countersink shoulder and use a center tap to get the nails clear of the tongue. When I get too close to the wall or seat even to do that, I will need to top nail them in with finishing nails, countersink and putty over. I’ll show this soon, so stay tuned.
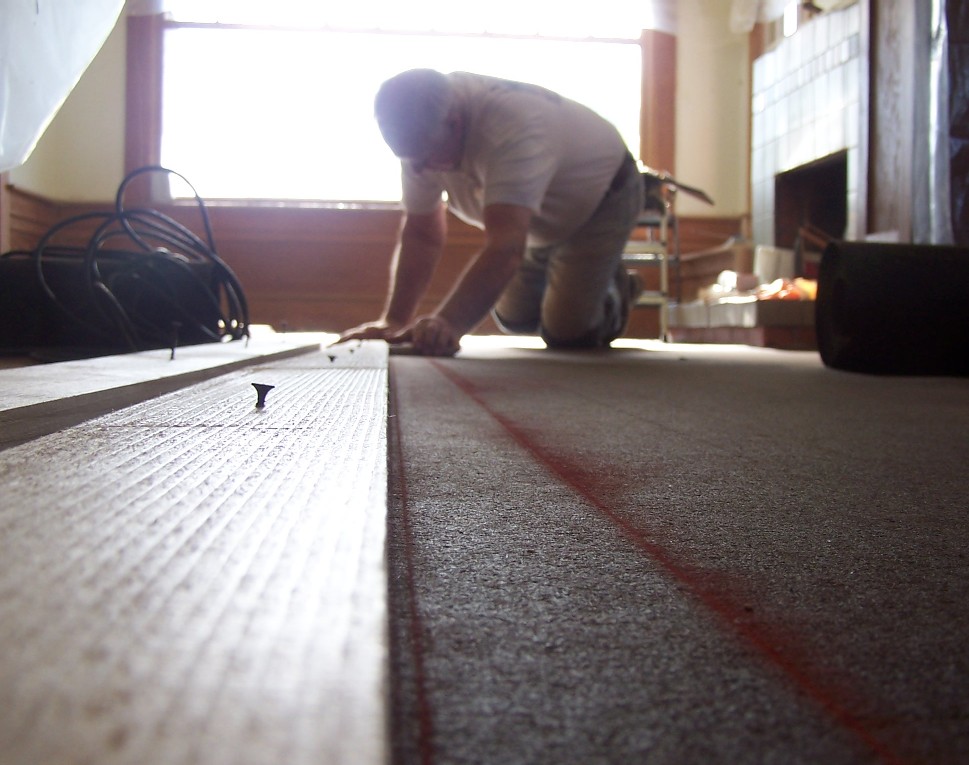
 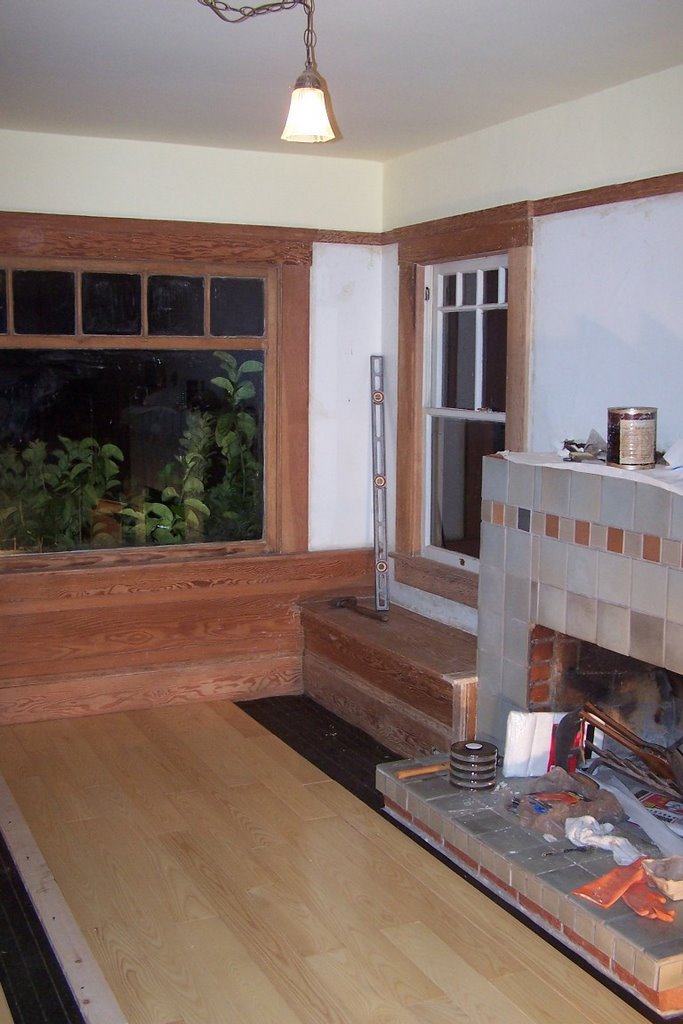 One final picture, however, is as it stands after the first day of actual flooring.
Labels: flooring, hardwood, installation
posted by Oblio70 @ 12:33 PM
3 comments
![]()
![]()


3 Comments:
That's funny, the first thing I thought of after putting down a few rows of floor in the hall was "Bowling Alley!" too. I even imagined how it would look with the arrows painted on.
Sorry to hear about you flooring irregularities. I haven't had any boards that far out yet, but there are a few minor width issues that I solved (as much as I could) by "muscling" the next board in with a pry bar and clamps. If I do get any serious width problemns though, I'll try some of your techniques.
Yeah, "muscling" works when boards warp out of straight, but it wouldn't work in my case when the width of the boards is out of whack, sometimes all in the same board end-vs-end. I'm really quite suprised by this! It shouldn't be and makes my job that much more tedious.
تنظيف موكيت
تنظيف شقق
مكافحة النمل الابيض
شركات مكافحة حشرات
تنظيف الكنب
تنظيف منازل
رش مبيدات
شركة تسليك مجاري
تعقيم المنازل
Post a Comment
<< Home